Posted by
Hi Nobby,
There appears to be a bugfix in lwIP to correct this type of issue. .NET MF 4.3 is getting an lwIP upgrade, so we're hoping to have a fix for this soon. [lwIP is a big complicated project and 10,000s of boards rely on it working properly...so introducing the update in beta firmware should help it get some good in-field testing.]
Chris
Thanks for the information Chris

 )
)
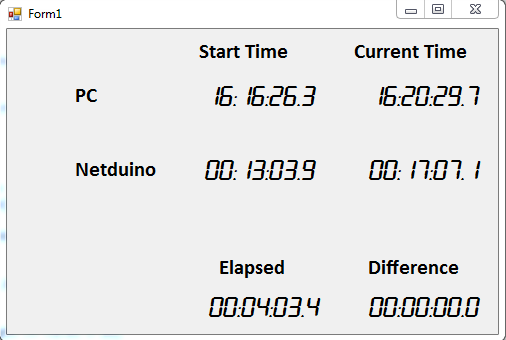
 loop with a Thread.Sleep(500) call. It does this after it initialises a class that manages the time measurements.