Posted by
Hi David,
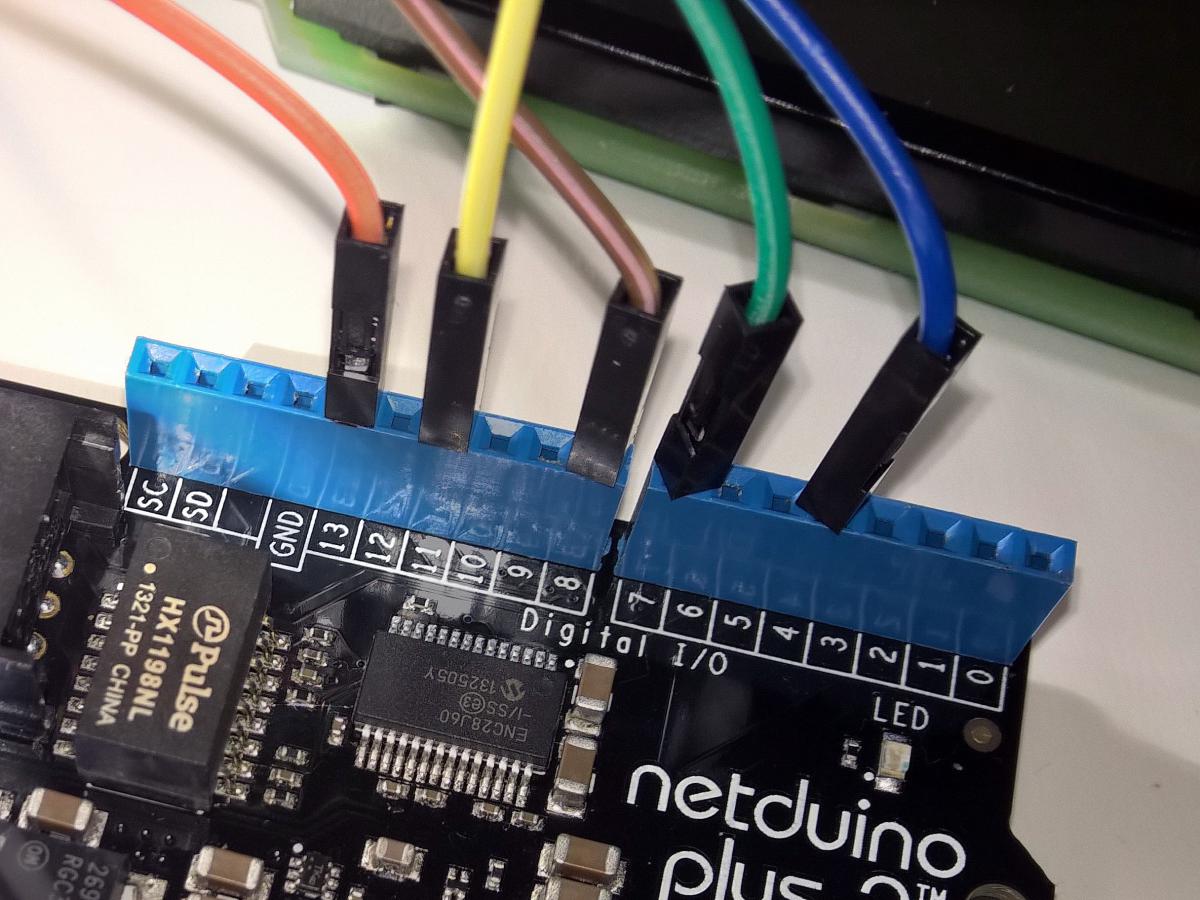
a few days ago I got ST7565 (Adafruit) working with my Netduino 2 Plus (see attachment).
I use the "AdaFruit ST7565 Negative LCD display" driver available in Netduino Helpers Library and it worked fine out of the box.
How is your ST7565 wired with Netduino?
At least you need to wire following pins (the bold ones you need to set on AdaFruit7565 constructor) :
GND: GND
VDD: 3.3v
SID: D11 (SPI MOSI)
SCLK: D13 (SPI CLK)
A0: D7 (Data / Command)
/RST: D4
/CS: D10 (or D8)
These pins are just for background light and are optional (so you can leave it unplugged for first tests):
B-: LED Blue
G-: LED Green
A+: LED anode
R-: LED Red
How to use AdaFruit7565 class in your code:
For creating instance of AdaFruit7565 class you need to take care to set correct pins (marked above red!) in constructor!
Here is some sample you can use in program.cs:
using System;
using System.Threading;
using Microsoft.SPOT;
using Microsoft.SPOT.Hardware;
using SecretLabs.NETMF.Hardware;
using SecretLabs.NETMF.Hardware.Netduino;
using netduino.helpers.Hardware;

namespace AdaFruit7565Test {
    public class Program {

        // you need to reflect pin configuration in AdaFruit7565 constructor
        public static AdaFruit7565 lcd =
           new AdaFruit7565(Pins.GPIO_PIN_D7, Pins.GPIO_PIN_D4, Pins.GPIO_PIN_D10, speedKHz: 21000);

        public static void Main() {

            lcd.Initialize();     // init display - important!
            lcd.SetContrast(AdaFruit7565.ContrastMedium);
            lcd.DrawString(0, 1, "Test");
            lcd.Refresh();        // refresh screen and shows text
            Thread.Sleep(5000);   // wait 5 seconds before set powersavemode
            lcd.ClearScreen();
            lcd.DrawString(0, 1, "Test 2");
            lcd.Refresh();        // refresh screen
            Thread.Sleep(5000);   // wait 5 seconds before set powersavemode
            lcd.PowerSaveMode();  // set display to powersave mode

        }
    }
}
What happens if you try above code?
br,
Johannes