Netduino home hardware projects downloads community

Jump to content


The Netduino forums have been replaced by new forums at community.wildernesslabs.co. This site has been preserved for archival purposes only and the ability to make new accounts or posts has been turned off.

muyinteresting's Content

There have been 19 items by muyinteresting (Search limited from 20-April 23)


By content type

See this member's

Sort by                Order  

#3894 Netduino Plus home automation

Posted by muyinteresting on 14 October 2010 - 04:35 PM in Project Showcase

hey guys very cool ideas. I do have an electrical license and would be happy to lend info if needed.


My biggest hangup is relay size and electrical safety and code adherence.

Do you live in the US or Canada? There is zero use for me to actually get super excited about this project if I can't be 99.99% sure that it won't burn my house down.

I've been doing some reading, and I've found that the general consensus is that relays should only be pushed to 70% of their rated resistive load values. I also read that I should be very aware of handling split second huge current draws that might just pop the relay. Things like vacuums, electric kettles, etc. stuff that draws 5-10A resistive load, but when starting up the load can easily be 2-10x higher than that!

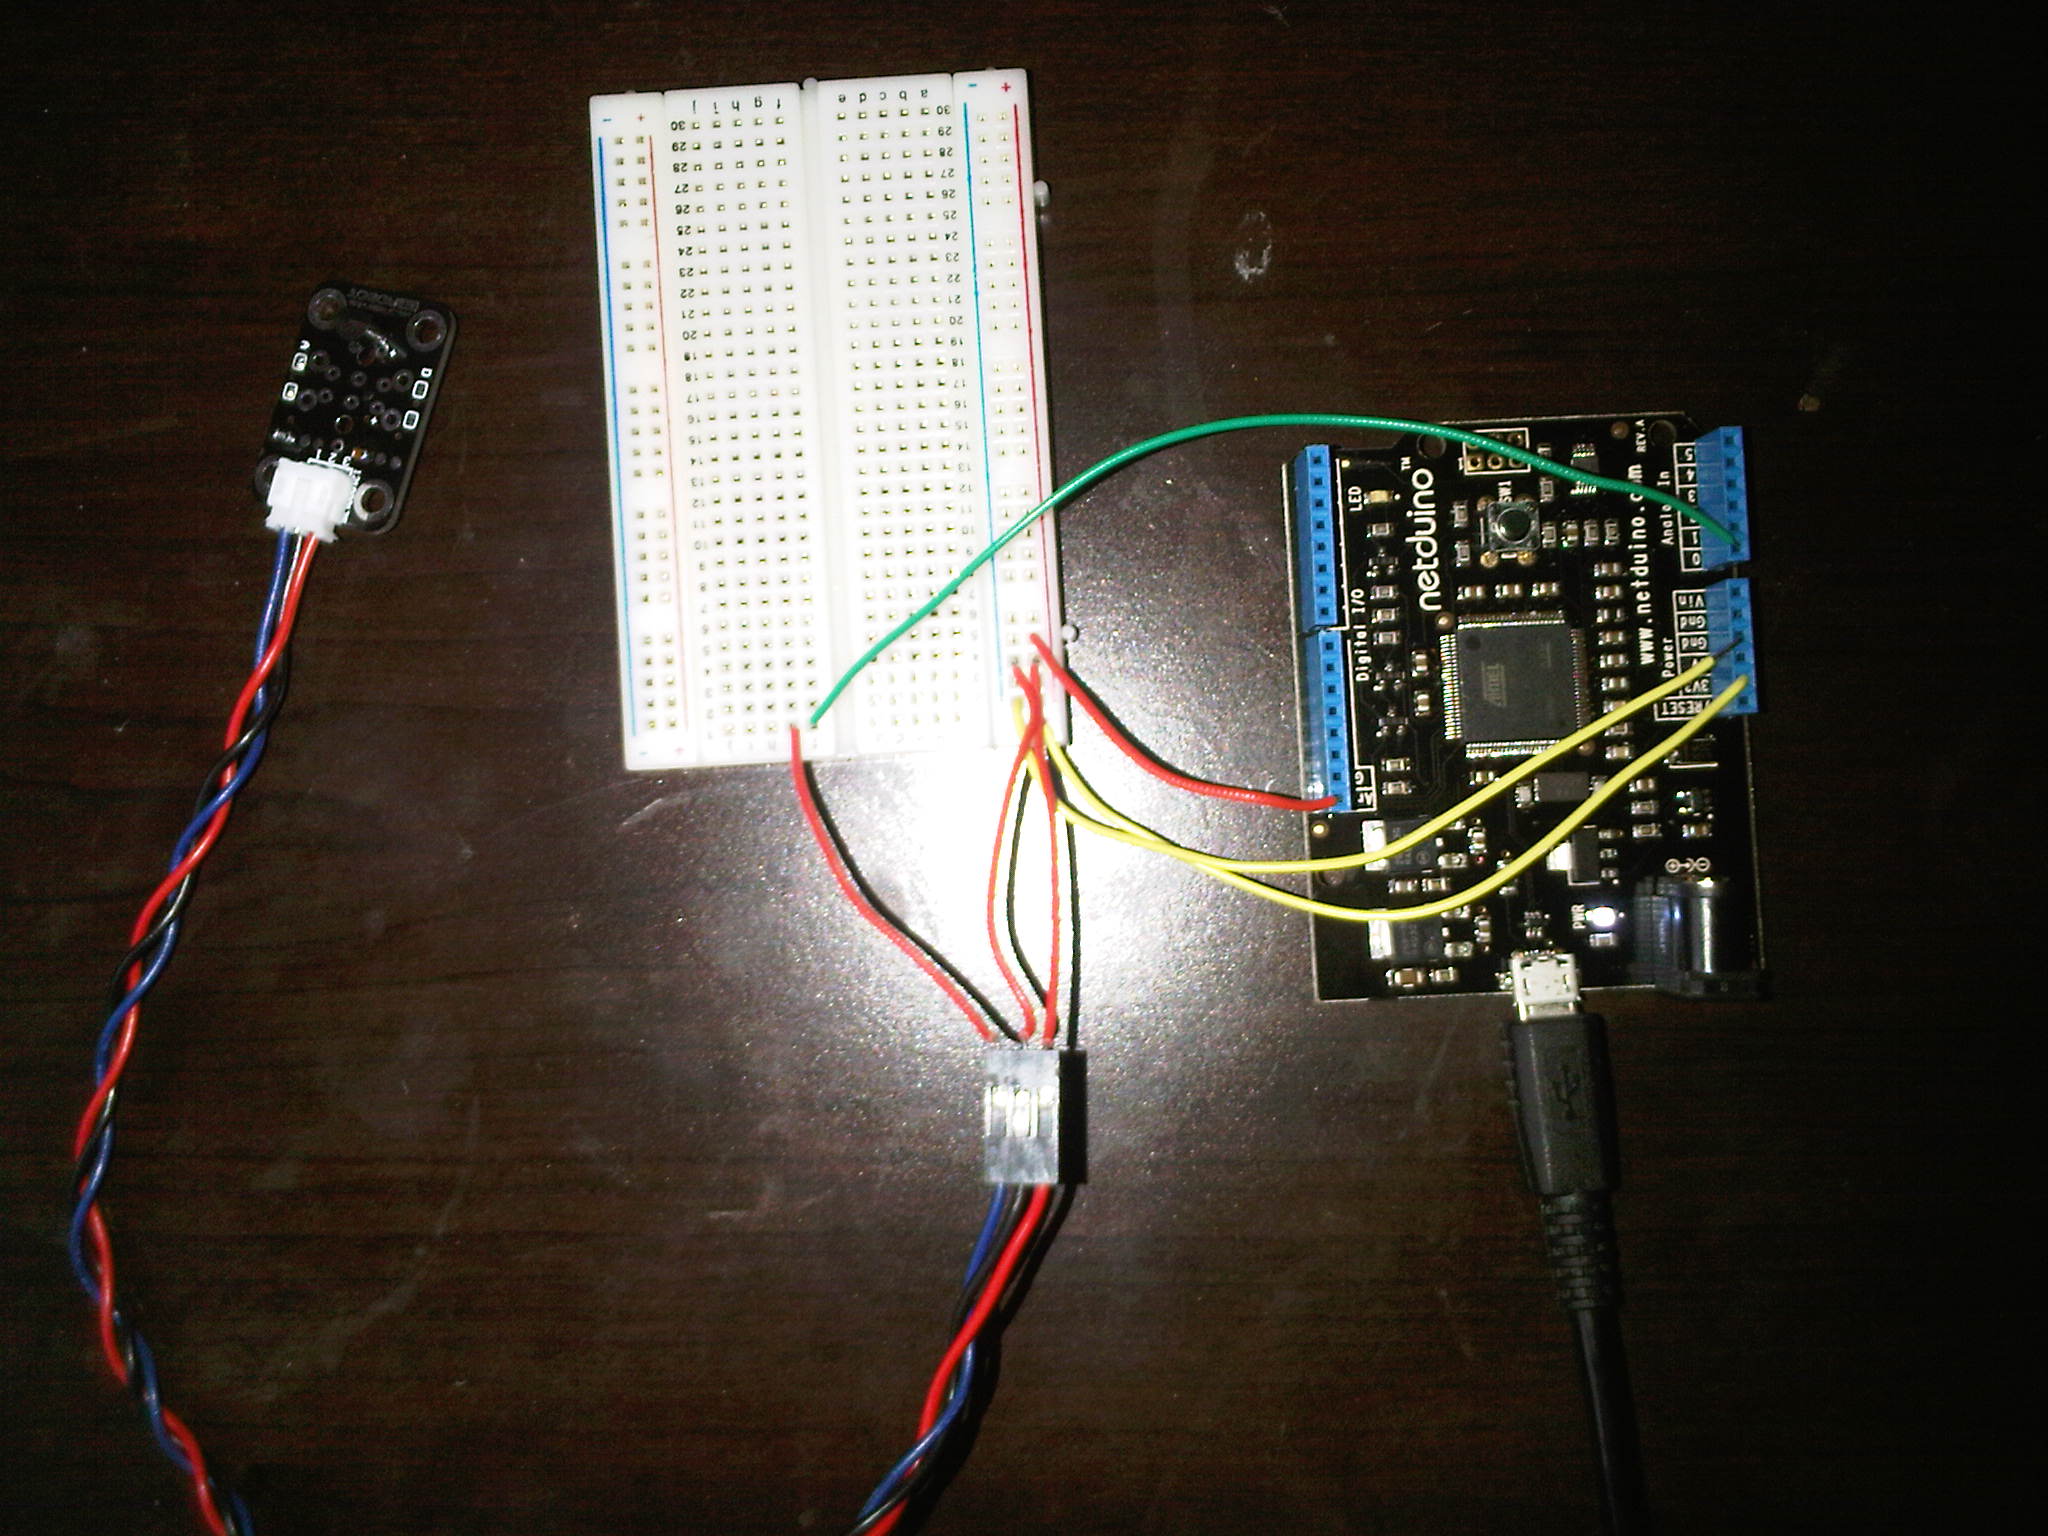
I had purchased some 15A @ 120VAC rated relays for $1.19 from Mouser Electronics, the contacts are quite small, and after reading up on it, I'm sure the only thing these ones can click on and off would be light bulbs.

So I need 30A @ 120V rated relays at minimum to make sure I have a high amount of room to work with. Only problem is that the price increases quite a bit.

I also found that there is a serious backing for the use of optoisolators for switching stuff like this. Separating the high voltage from the low voltage and stuff about not putting high and low voltage in the same box without some solid isolation.

If you can get back to me on wire gauging, relay size, and if you are in the US or Canada, a quick lesson on Elec code 101: How not to burn things, that would be great.


#3893 [PENDING/SLOW MOVING] Home Automation With The Netduino

Posted by muyinteresting on 14 October 2010 - 04:05 PM in Project Showcase

Quick note: I'm a student, I'm poorer than dirt at the moment. So no hardware purchases yet, just planning and coding and stuff. The interest is really great though. I thought I was just crazy. No one I've talked to so far about my plan has showed much interest. I guess you need a working system to be able to convince people. The day I can use my stereo remote and a tablet to control my stuff, I will be happy. There are 15 buttons on my Cambridge Audio that are unused because it is a combo remote for a matching CD player as well. Building an IR receiver is next on my list, and it will be just like the other remote controllers, wireless and such. Press the numbers 1-15 to change the lighting pattern in the room. :D Also, thanks for that link to the SNUPI and IQRF stuff, pretty cool sh!t.


#3856 [PENDING/SLOW MOVING] Home Automation With The Netduino

Posted by muyinteresting on 13 October 2010 - 06:33 PM in Project Showcase

Oh, I am just using the netduino as the "master" controller since I already have it and I can code things to leverage the power of .NET MF. It is going to be the glorious bridge and master of all of this chaos. As for the software side, the eventual plan is to have the server on the netduino itself. So that the controller devices (the tablets, phones, etc) will connect directly to it. For now I'm going to run a dedicated machine with a serial to UART converter to talk back and forth with the netduino. The serial host machine is gonna have a small windows forms app that will just take the command sent from the client via the IP network and push it over in full to the netduino for processing. So for now its Client ->(IP) PC Server (Serial) -> Netduino ->)) Wireless controller. So to be the master controller, and to handle multiple client devices connected, I do need the netduino for this one. Some will argue that I should ditch the dev board(netduino), but for my own use, it works just fine. I'll figure out how to design my own board that needs only the components I need (like the Amtel sported by the netduino), and directly soldered stuff as opposed to on the headers. However, that is a LOONNG way off. To do the actual work (the wireless controller), I am considering buying a JeeNode as a dev platform, and then I will find every way to squeeze the cost down as far as I can with a custom solution. I might have to consult someone that knows PCB design for that one. Basically, I will probably end up taking the (idea of the) JeeNode and stick it on a custom PCB that doesn't include the extra components like the unneeded pin headers, etc. Cutting costs wherever I can. I hoped to actually prototype the hardware and eventually turn it into a legit product, but since I will have to draw upon so many people to make up for my lack of knowledge, putting the software AND the hardware plans open source is the best way IMHO. Green automated homes for everyone! Random goal: Complete the majority of the project goals for a total cost of well under $500 in hardware.


#3851 Netduino Plus home automation

Posted by muyinteresting on 13 October 2010 - 03:44 PM in Project Showcase

I guess I have to explain my vision. My seemingly overkill dream pretty much. I should be documenting this in my own thread, but since we are already discussing it.

When I come home, I want to be able to pick up the 7" android tablet (around $200) on my coffee table, swipe through a couple menus and control my house. Other options would be a windows application, an app for my blackberry, or the app on an android based cellphone. They all run the same control routines, just shinier interfaces on some of them.

I want to see:
Environmental data (Temperature, humidity, light readings) for every room
Electrical status (per OUTLET current draw, which outlets are on/off, etc) for every room
Electrical & environmental combo map on top of a floor plan
Home security status (which windows are open/closed, is the main door deadbolt locked) for every room

I want to be able to:
Change states of outlets, light fixtures, etc. (Turn lights/outlets on/off, set lighting patterns/profiles)
Control home appliances (via IR for HiFi system, mechanical control with servos, etc).

As for actually powering the controllers that would actually provide this info, If you find a very small (you dont need alot) supply from something like a USB charger, it seems small enough to fit into the box. The total supply available would be around 5V 500mA, which is more than enough to power the stuff, trigger the relay, and do whatever else.

For the wireless controller side, something like a JeeNode (which are pretty small) could be used. Just don't put the pin headers on. I think something more custom would be in order for a more wide-scale deployment though. $22 just for the controller isn't worth it when you are only using 2 pins (1 relay, 1 current sensor). If that cost could be cut down to under $20, it would be very viable for a small module.

A controller dedicated to receiving queries and sending back data or responding to controls.. it really doesn't need a 32 bit MCU with >9000 mhz of power. So if you wanted, you could probably cheap out hard and use an ATMega168 and only use the pins you need.

I was thinking about a simple command set:

RELAYSTATE (CONTROLLER ID) (RELAY #) (STATE)
SENSORSTATE (CONTROLLER ID) (SENSOR #/PIN #)

The Controller ID will be set by using an analog pin on a DIP switch set of resistors.
It is an 8 bit ID. Separated into a GROUP and a TARGET. The first 4 bits indicate the group, the last 4 indicate the the target controller itself. This allows 15 groups of 15 controllers, which is way more than anyone would need unless they have a mansion or something.

Total resistance = ID values. So you have the row of switches to set the ID...

|0|0|0|1|-|1|1|1|1|
This controller is #15 of the first group. Go through the binary values as you wish.

Stuff like that. A really easy command set. The difficulty comes when encounter the need to secure these wireless connections.


brainstorms

As for the actual switching that works even without power, you can use the usual dual switch wiring method. Since the relay is just a fancy switch, wire it like you would wire a common SPST switch in your house, just this time, they are inches from each other instead of having one at the door and one down the hall to control one light.


Midterm test time! :o


#3840 Netduino Plus home automation

Posted by muyinteresting on 13 October 2010 - 01:47 PM in Project Showcase

For the lighting control, which is my primary focus, I am giving up on the established devices such as X10's. I'm going all out and planning a custom made solution involving Relays, wireless microcontrollers, and the like all packed into something small enough (and safe enough) to put in the empty space of the electrical box in the wall. While the X10 boxes you can buy online are nice and great, they are big and ugly and don't really fit in. My idea is to have something that is practically invisible and can be dropped in place or installed in a new home. Plus, I want to make a sexy interface for android devices, blackberries, and PCs to view real time status information (environment data, door lock status, etc) and control devices to turn on lights and appliances laid out on a floor plan. However, I should but the giant disclaimer up that I am NOT an electrician. This is probably not going to be safe. I'm gonna have to consult the electricians and EE's at my college for this one. More or less making sure I'm not going to burn down my apartment. Back to studying for a big midterm test. ;o


#3814 [PENDING/SLOW MOVING] Home Automation With The Netduino

Posted by muyinteresting on 13 October 2010 - 01:33 AM in Project Showcase

Hi Everyone,

I bought a Netduino earlier this fall to kick off my crazy ideas for a DIY (for now) home automation kit.

Since I am a networking guy, not a programmer or a hardware engineer, the .NET MF framework makes everything much easier to learn and to write code for.

The Plan.. kinda
The plan is to make a client-server architecture of microcontrollers with the Netduino at the centre. These client controllers will do everything from trip a relay to turn lights and wall outlets on and off to sending back sensor data to controlling LED lighting strips.

They will all be wireless and will be powered by the same line they are switching.

The netduino will be the master controller and will also be the connection between the clients and the networked command applications.

So, not thinking about the remote devices just yet, I'm focusing on writing the control code at the moment. Coming up with a command set and everything else.

Hardware
For the wireless radio, I plan on using the following SPI-commandable transceiver:
http://www.sparkfun....roducts_id=9582
RFM12B-S2 Wireless Transceiver

That's pretty well all the hardware that is needed on the netduino end, unless I choose to also use the mass of unused pins for something useful!

This post is pretty much a placeholder for my musings and project progression/details.

Stay tuned! Between school, an upcoming work term, and living the student life, this should be interesting if I manage to pull it off.

For the mean time, please vote on the poll above and tell me if I'm a nutter.


#3501 Analog Input Readings - LM35 Attached

Posted by muyinteresting on 04 October 2010 - 10:19 PM in General Discussion

Ok, after much worry, it appears its working now? WHAT?! I was incredibly frustrated yesterday (hence this whole post), it was spitting out (post formula) readings of 56 and higher when I was running Visual C# on my laptop. Netduino away from any fans. 3.3 * Val * 100 /1024 Now, my issue now is the seemingly super long time it takes for this sensor to report a real reading. It's relatively cool in my room, yet, I touch the sensor, it eventually reaches a higher value, however, it holds that value for a long time. Even after the heat source is long gone. :/ However, there is no issues with the netduino it appears. Emergency averted.


#3500 Analog Input Readings - LM35 Attached

Posted by muyinteresting on 04 October 2010 - 10:08 PM in General Discussion

Ok.

So, as I expected, I jump A0 to GND and I get a consistent 0 across the board.

ARef is connected to 3.3V on the netduino.

I remove the ARef and keep A0 -> GND and I get random periods of values of 127, 255, and 1023. Just as an aside.

I connect my sensor output to A0. Sensor Vin is also on the 3.3V, GND is to a GND pin on the netduino.

I get the following values, it is around room temperature in my room at the moment:

They don't look right at all. I will do more research though.

71
71
71
70
71
70
71
71
70
70
71
70
70
70
70
71
70
70
70
70
70
69
71
71
70
68
71

I am using the following code to pull my values as a test application:

using System;
using System.Threading;
using Microsoft.SPOT;
using Microsoft.SPOT.Hardware;
using SecretLabs.NETMF.Hardware;
using SecretLabs.NETMF.Hardware.Netduino;

namespace NetduinoApplication1
{
    public class Program
    {
        public static void Main()
        {
            AnalogInput AP0 = new AnalogInput(Pins.GPIO_PIN_A0);
            AP0.SetRange(0, 1023); //Define the default just in case.

            while (true)
            {
                Debug.Print(AP0.Read().ToString());
                Thread.Sleep(250);
            }

        }

    }
}

Pictures are attached of my wiring.
IMG00017-20101004-1743.jpg
IMG00018-20101004-1743.jpg
IMG00019-20101004-1744.jpg


#3483 Analog Input Readings - LM35 Attached

Posted by muyinteresting on 04 October 2010 - 06:19 PM in General Discussion

I expected that was the case, which concerns me because my values appear to be far too low.

I'm just running a loop for right now:

AnalogInput AP0 = new AnalogInput(Pins.GPIO_A0);
while (true)
{
Debug.Print(AP0.Read().ToString());
Thread.Sleep(500);
}

With that, I get a constant print out of numbers usually hovering at around 88 (with the aref at 5V) and a little bit lower on 3.3v. I touch the sensor and it takes about 5 seconds to reach a higher value. You can watch the values climb by 1 or a little bit more every pass of the loop.


#3481 Analog Input Readings - LM35 Attached

Posted by muyinteresting on 04 October 2010 - 05:47 PM in General Discussion

Have you tried using the AnalogInput.SetRange(...) method to calculate your results instead?

Chris


I haven't used setrange to calculate my results, however, based on all the readings that I could find, it shouldn't be required. The raw number from IOPin.Read() should be sufficient.

I'll try that when I get home after my classes are done (5pm today! >:\) and experiment with AnalogInput.SetRange().


#3479 Analog Input Readings - LM35 Attached

Posted by muyinteresting on 04 October 2010 - 05:39 PM in General Discussion

Hi Muyinteresting,

Netduino's ARM processor supports analog inputs (and AREFs) up to 3.3V. You will need to switch the AREF to 3.3V and use 3.3V with your analog sensor...

Chris


I have tried that. I have powered a single sensor from the netduino 3.3v and bridged the ARef to 3.3v, I get the same result as using 5v, albeit with a reduced range.

I confirmed that the ARef is there as my values hold at 1023 without it (as it should). The sensor is being grounded by the netduino.


#3477 Analog Input Readings - LM35 Attached

Posted by muyinteresting on 04 October 2010 - 05:34 PM in General Discussion

Hi, While I'm not ever so slowly writing my code for my home automation project, I am playing with random things like pulling sensor readings and the like. I have a couple of LM35 temp sensors (http://www.robotshop...e-sensor-1.html) that I bought from RobotShop.ca I wired one up, on analog pin 0 and started reading off values. I am constantly getting very low values under 120. I am getting a consistent series of read offs within 60-110 depending on the temperature. However, for the change in temperature, the range that is appearing is very off. Using the general conversion equation double tempinCel = (5.0 * APin_0 * 100) /1024, I get an annoying read out of 56.XXXXX at room temperature. I am pretty sure that my room is not 56C. As far as I am aware, this sensor provides readouts in Celsius in 10mV per degree. I tested all 3 sensors on all 6 analog IO pins. I get the same readout on all of them of that same sub-100 value. My room is sitting at about 24C, which should produce a value much higher than what I am getting. My ARef is 5V (bridged from 5Vout on the netduino) since I'm powering the sensor with an external power supply. I tried powering from the board itself with 3.3v and 5v. I get the same terrible values, just a bit different because of the reference difference. The netduino firmware is at 4.1.0.3. I wired everything up using every matching schematic I could find for the arduino, etc. It isnt reading out properly. I doubt I got 3 dead sensors in one go? If you can provide any input on this issue, it would be appreciated. Thanks, Muyinteresting


#3408 Electrical component compatibility.

Posted by muyinteresting on 03 October 2010 - 03:52 AM in General Discussion

Reasons:

  • Netduino or any other microcontroller for that matter has very limited current handling capability (16ma) in Netduino's case.
    Chances are the relays require more than 16ma. The transistor gives you leverage. Only a small current from Netduino into the transistor base is needed to drive higher currents through the transistor's Emitter and collector pins.
  • Relay coils and motors generates current when they're going from on to off state. Without the protective diode, that current may damage the transistor.
BTW, I did not learn this in college. I learned from others in the Internet, and tinkering on my own. Think how you learned the basics of programming before you delved into multi-threading, the same with electronics. IMO digital electronics is simpler than programming. Other branches of electronics is another story. Posted Image


Limited current that won't be able to trigger or sustain the relay, combined with the prospect of having a useless blue lump the next moment.. I'd say it's cause enough to use an external power supply.

Also, wow, I didn't know the netduino was so current limited. The arduino at least can move 40mA. Those are the trade offs I guess. :3

Side note: Even small relays can draw a good 50-100mA on their own, and thats just a small Tyco Electronics one that can switch 15A @ 120v.

Also, it's common and best practice to only use a relay up to 70% of it's rated max load. That is even being generous in some cases. These ratings are for regular resistive loads, they don't incorporate anything inductive, etc. So the relay can take 15A resistive, but you are guaranteed to pop it if you connect something that takes 30A to start up.

Perfect example: A vacuum cleaner. That electric motor can easily pull 2-10x it's usual load to start up. The draw is very very quick, but it is nonetheless large. Notice that the standard North American plug pins seem ridiculously large? There's a reason for that. Safety, Safety, Safety.

tl;dr oversize your relays. It doesn't cost that much more and is more of a guarantee that you won't burn your house down.

I figured this out after getting 10 15A 120v relays from Mouser ($1CAD/each) and taking a look at them. They looked way too tiny to handle anything bigger than a 100w lightbulb in a desk lamp. Now I know, even if my circuit is only 15A, oversize like mad. 30A relays are a bit more $ but the difference between that and burning my house down and the insurance company saying its my own fault... I'll take the extra hit.


#3406 Electrical component compatibility.

Posted by muyinteresting on 03 October 2010 - 03:40 AM in General Discussion

The transistor is used to effectively isolate the netduino from powering the relay from its own power. You can use your 5V power supply (ie. 5v 500mA wallwart) to trigger the relay instead. It is much much much more friendly and much less demanding on the MCU to do it that way. Plus, if you have a capable supply, you will be able to use it to trigger as many relays as it allows. The only thing the netduino is doing is flipping the transistor that completes the path to ground. HOWEVER Fair warning, the transistor provides a path that connects high and low voltage components. This is risky if you are using the relay to switch heavier circuits like 120v. if something were to go wrong, it provides a nice path that can send a lethal dose towards your nice shiny netduino. As far as I am aware, this is against electrical code at least in Canada, for safety and electronic component concerns. Well, only if you are switching 120v or higher, and want to stuff this in your walls, etc. The best option is to use an optoisolator. If you are switching only one relay, look for a 4 pin version. Sparkfun carries them I think.


#2194 Switching mains voltage from Netduino

Posted by muyinteresting on 12 September 2010 - 10:40 PM in General Discussion

Also, take a look at this.

http://www.glacialwa...byrobotics/?p=9

I purchased these relays, they are heftier than the ones in the article.

http://ca.mouser.com...%2bkHcsol6EpYY=

Different mounting type though. However, I just got them from Mouser today, they look suspiciously small, but after rereading that article, it looks like they are just fine.


HOWEVER. I am going to do >9000 more hours of research before I actually attach this to my lights.

If these are legit and completely safe, I'll be posting the thread "Home Automation: Relays and Environment Data for The Canadian Household" to document my lovely crazy project.

It will go from a prototyped hack solder-job to hopefully a fully PCB mounted, enclosed, wireless solution that can be dropped into any existing home. All for under $500! The most expensive part of this project will be the PCB's and the microcontrollers. The Netduino will be the proud "master controller" and heart/brain of the system!

Therefore, I will be releasing my control code in it's production worthy form to the community for use.

Anyways, take a look at that site. If you don't mind, share your experience (in detail) with me, I'm really curious to know. I'm a networking guy, not an electrician. :P


#1743 Netduino Mini

Posted by muyinteresting on 03 September 2010 - 03:45 PM in Netduino 2 (and Netduino 1)

It definitely would. IMHO the issue here is (and not only specific to Netduino, it applies to FEZ boards too and perhaps others) that the microprocessor already has ~60 (or more) general I/O pins, but only part of them are accesible (e.g. via pin headers). I am not saying that I want 2×32 pin header present on the board (although it would not add significant cost, can be placed on the section which could be cut off etc.), but I would appreciate an opportunity to extend the board interface if needed (mount the pin header, solder flat cable to some solder pads etc.). I don't really want to end up soldering thin wires directly to .5 mm pitch LQFP-100 pads...Posted Image


I think I am in lurve with that board. However, if the I/O pins on the chip were DIRECTLY accessible, that would be even more amazing. No funky multiplexing strategy needed, just connect optional pin headers and away you go. Even if you just left them as solderable through-holes that could accept the pin headers somewhere off to the side. Cover them by default or something, to avoid mistakes. "remove plastic cover to expose extra pin holes."

If there was a netduino board with all those pins exposed, for pretty well the same gneral cost (it doesnt cost much more to add those pins..) I would buy one up right away.


#1726 Serial communication between the Computer and the Netduino?

Posted by muyinteresting on 03 September 2010 - 04:31 AM in General Discussion

Greg, I was aware that USB is not a communication option right now. That question was intended for the OP. However, now it has been stated. Standard serial communication with the UARTs is pretty easy. brb writing my code.


#1720 Netduino Mini

Posted by muyinteresting on 03 September 2010 - 04:17 AM in Netduino 2 (and Netduino 1)

To be honest I'd be more interested in something along the lines of the Rhino. More IO, more UART, blah blah blah. But I'm building a robot. :P A "mini" would be cool for things like remote sensor arrays for sure.


I agree. if anything, if this is intended for remote sensor projects.. if the chip is available, have an insane amount of I/O.

The netduino costs too much to only connect a couple sensors. Reduced clock speed/RAM, 1 or 2 UARTs, A simple collection device, with a ton of sensors to poll and report back to a more powerful platform.

I'm having trouble packing all the things I want onto my netduino, it just doesn't have enough pins for my needs. I guess I'll have to figure out some sort of multiplexing.

I'm dreaming though, this is supposed to be a mini platform, a tiny thing you can slip somewhere to collect data from a couple sensors. It would be nice to have, I could get my board(s) closer to the sensors they are monitoring. However, I'd expect to pay half or less of what the current netduino is. On account of the loss of size, and functionality.

They would sell well if you could pick a couple up for $10-15 a piece and deploy them quickly and easily.


#1708 Serial communication between the Computer and the Netduino?

Posted by muyinteresting on 02 September 2010 - 11:09 PM in General Discussion

This would be nice to know. Although I'm confident that this is trivial. I will definitely need serial communication as I am sending commands to the netduino over a serial COM port. I'm dedicating this entire controller to controlling and monitoring relays. All the digital pins, except the COM1 ports will be used to trip relays for lights, wall outlets, etc. The analog ports will be used for monitoring current on things like switches to report current draw (ie. >0A = on). Are you intending to talk over the USB port or over the COM ports (D0/D1 and D2/D3)?


home    hardware    projects    downloads    community    where to buy    contact Copyright © 2016 Wilderness Labs Inc.  |  Legal   |   CC BY-SA
This webpage is licensed under a Creative Commons Attribution-ShareAlike License.