Best Answer JerseyTechGuy, 02 April 2013 - 11:46 AM
I just happened to be buying other stuff from freetronics at the time. epictinker.com carries their stuff and is in California. Otherwise any board will work for you.
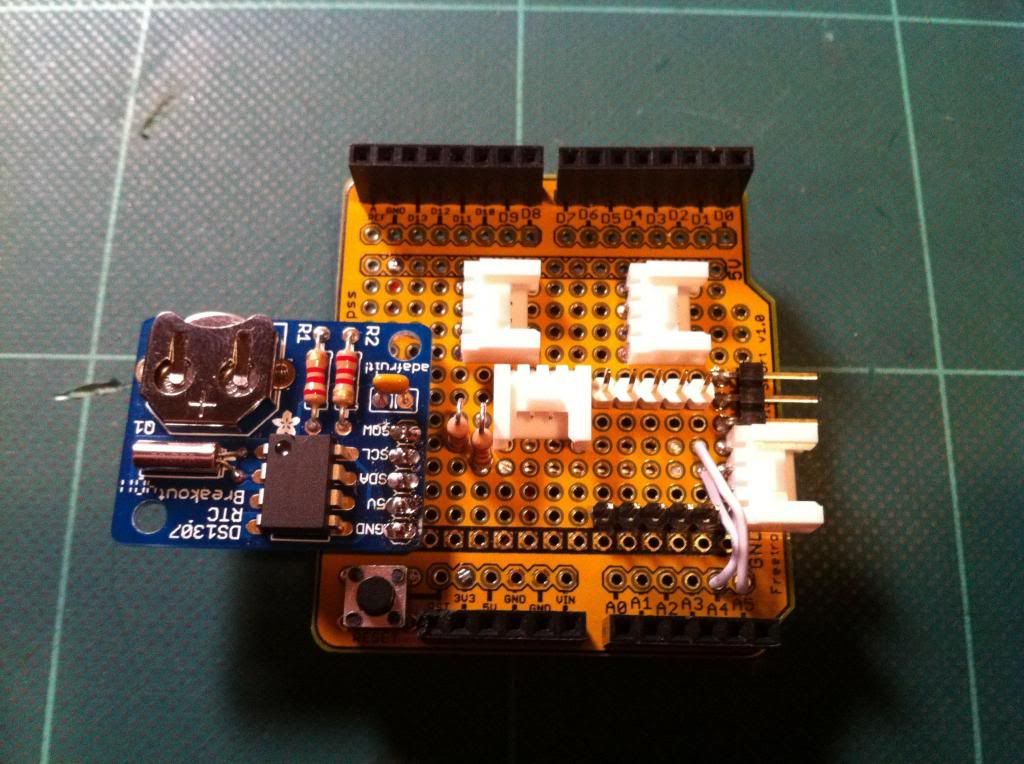
All of these shields sit directly on top of the Ethernet port. If you use the stackable headers it shouldn't be an issue. If you use the breakaway headers they are shorter.
Go to the full post 

 .
.