
Hello!
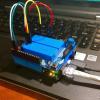
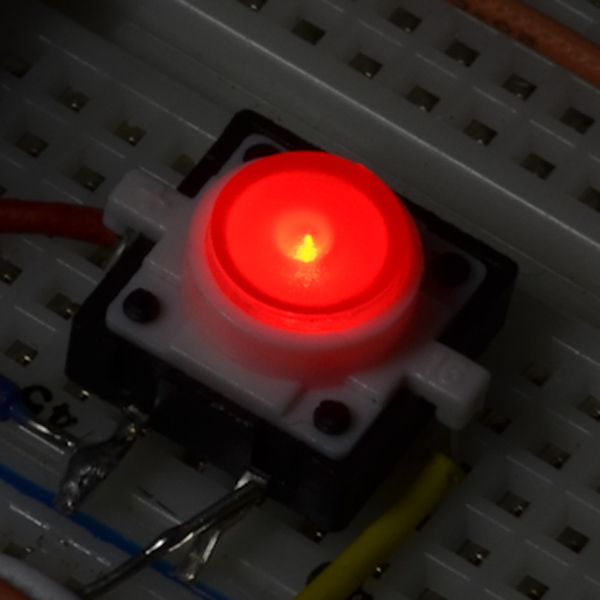
After being away from the Netduino world for far too long, I decided to take a try and apply something I bought from Sparkfun earlier this month, It's their illuminated button.
See here:
I have it mounted on their breakout board:
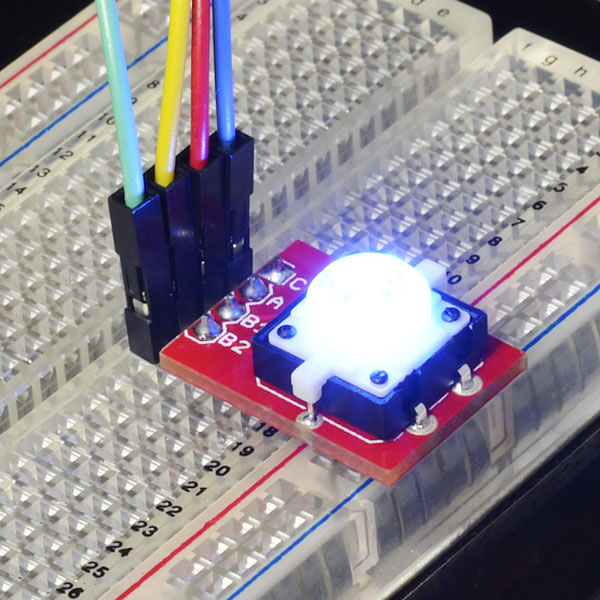
It's the white one shown, but I picked Red since its almost always that color when we build ours on breadboards with the Netduino Mini involved.
And the code? I'm glad someone ask:
using System;
using System.Threading;
using Microsoft.SPOT;
using Microsoft.SPOT.Hardware;
using SecretLabs.NETMF.Hardware;
using SecretLabs.NETMF.Hardware.NetduinoMini;

/* NOTE: make sure you change the deployment target from the Emulator to your Netduino before running this
 * Netduino sample app.  To do this, select "Project menu > ButtonApp Properties > .NET Micro Framework" and
 * then change the Transport type to USB (or Serial).
 * Finally, close the ButtonApp properties tab to save these settings. */

namespace ButtonApp
{
    public class Program
    {
        public static void Main()
        {
            // write your code here

            OutputPort led = new OutputPort(Pins.GPIO_PIN_17, false);
            Thread.Sleep(350);
            InputPort button = new InputPort(Pins.GPIO_PIN_16, false, Port.ResistorMode.Disabled);
            bool buttonState = false;
            Thread.Sleep(350);
            while (true)
            {
                buttonState = button.Read();
                led.Write(!buttonState);
            }
        }

    }
}
For those us who are really curious, I stuck one of my trustworthy SN7437 parts in between the two ports chosen.
After the usual fiddling with the FTDI device to talk to the device, it worked and the code deployed as if its been run there before.
Edited by Dr Who, 26 December 2015 - 06:51 AM.